

marimo notebooks are great artifacts to share work. They can be checked into version control as scripts, exported as HTML, and even deployed as apps.
But what if you could present them as slides?
We’re happy to announce a revamp of the slides experience. Interact with widgets, edit and re-run code mid-talk, and author the deck without leaving presentation mode.
We even made a YouTube video!
#Creating a presentation
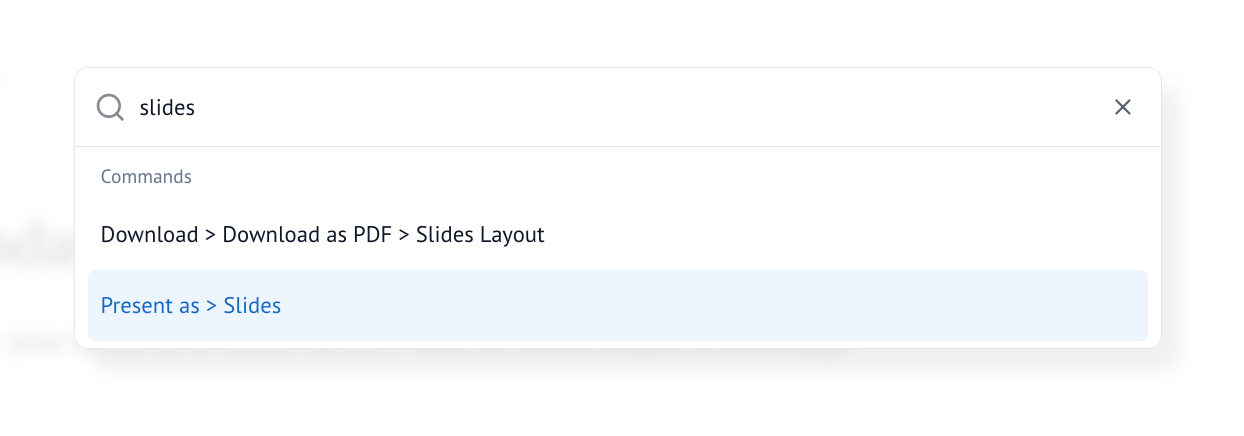
In the notebook editor, open the command palette (Ctrl/Cmd + K) and type Slides.
#Edit code while presenting
Click the Code icon in the top right, or press C, to open the code editor on the current slide.
Edit and run the cell; the slide updates in place, useful when you need a live tweak without leaving presentation mode.
Since slides are just notebook cells, widgets stay interactive and affect downstream outputs.
#Minimap and config
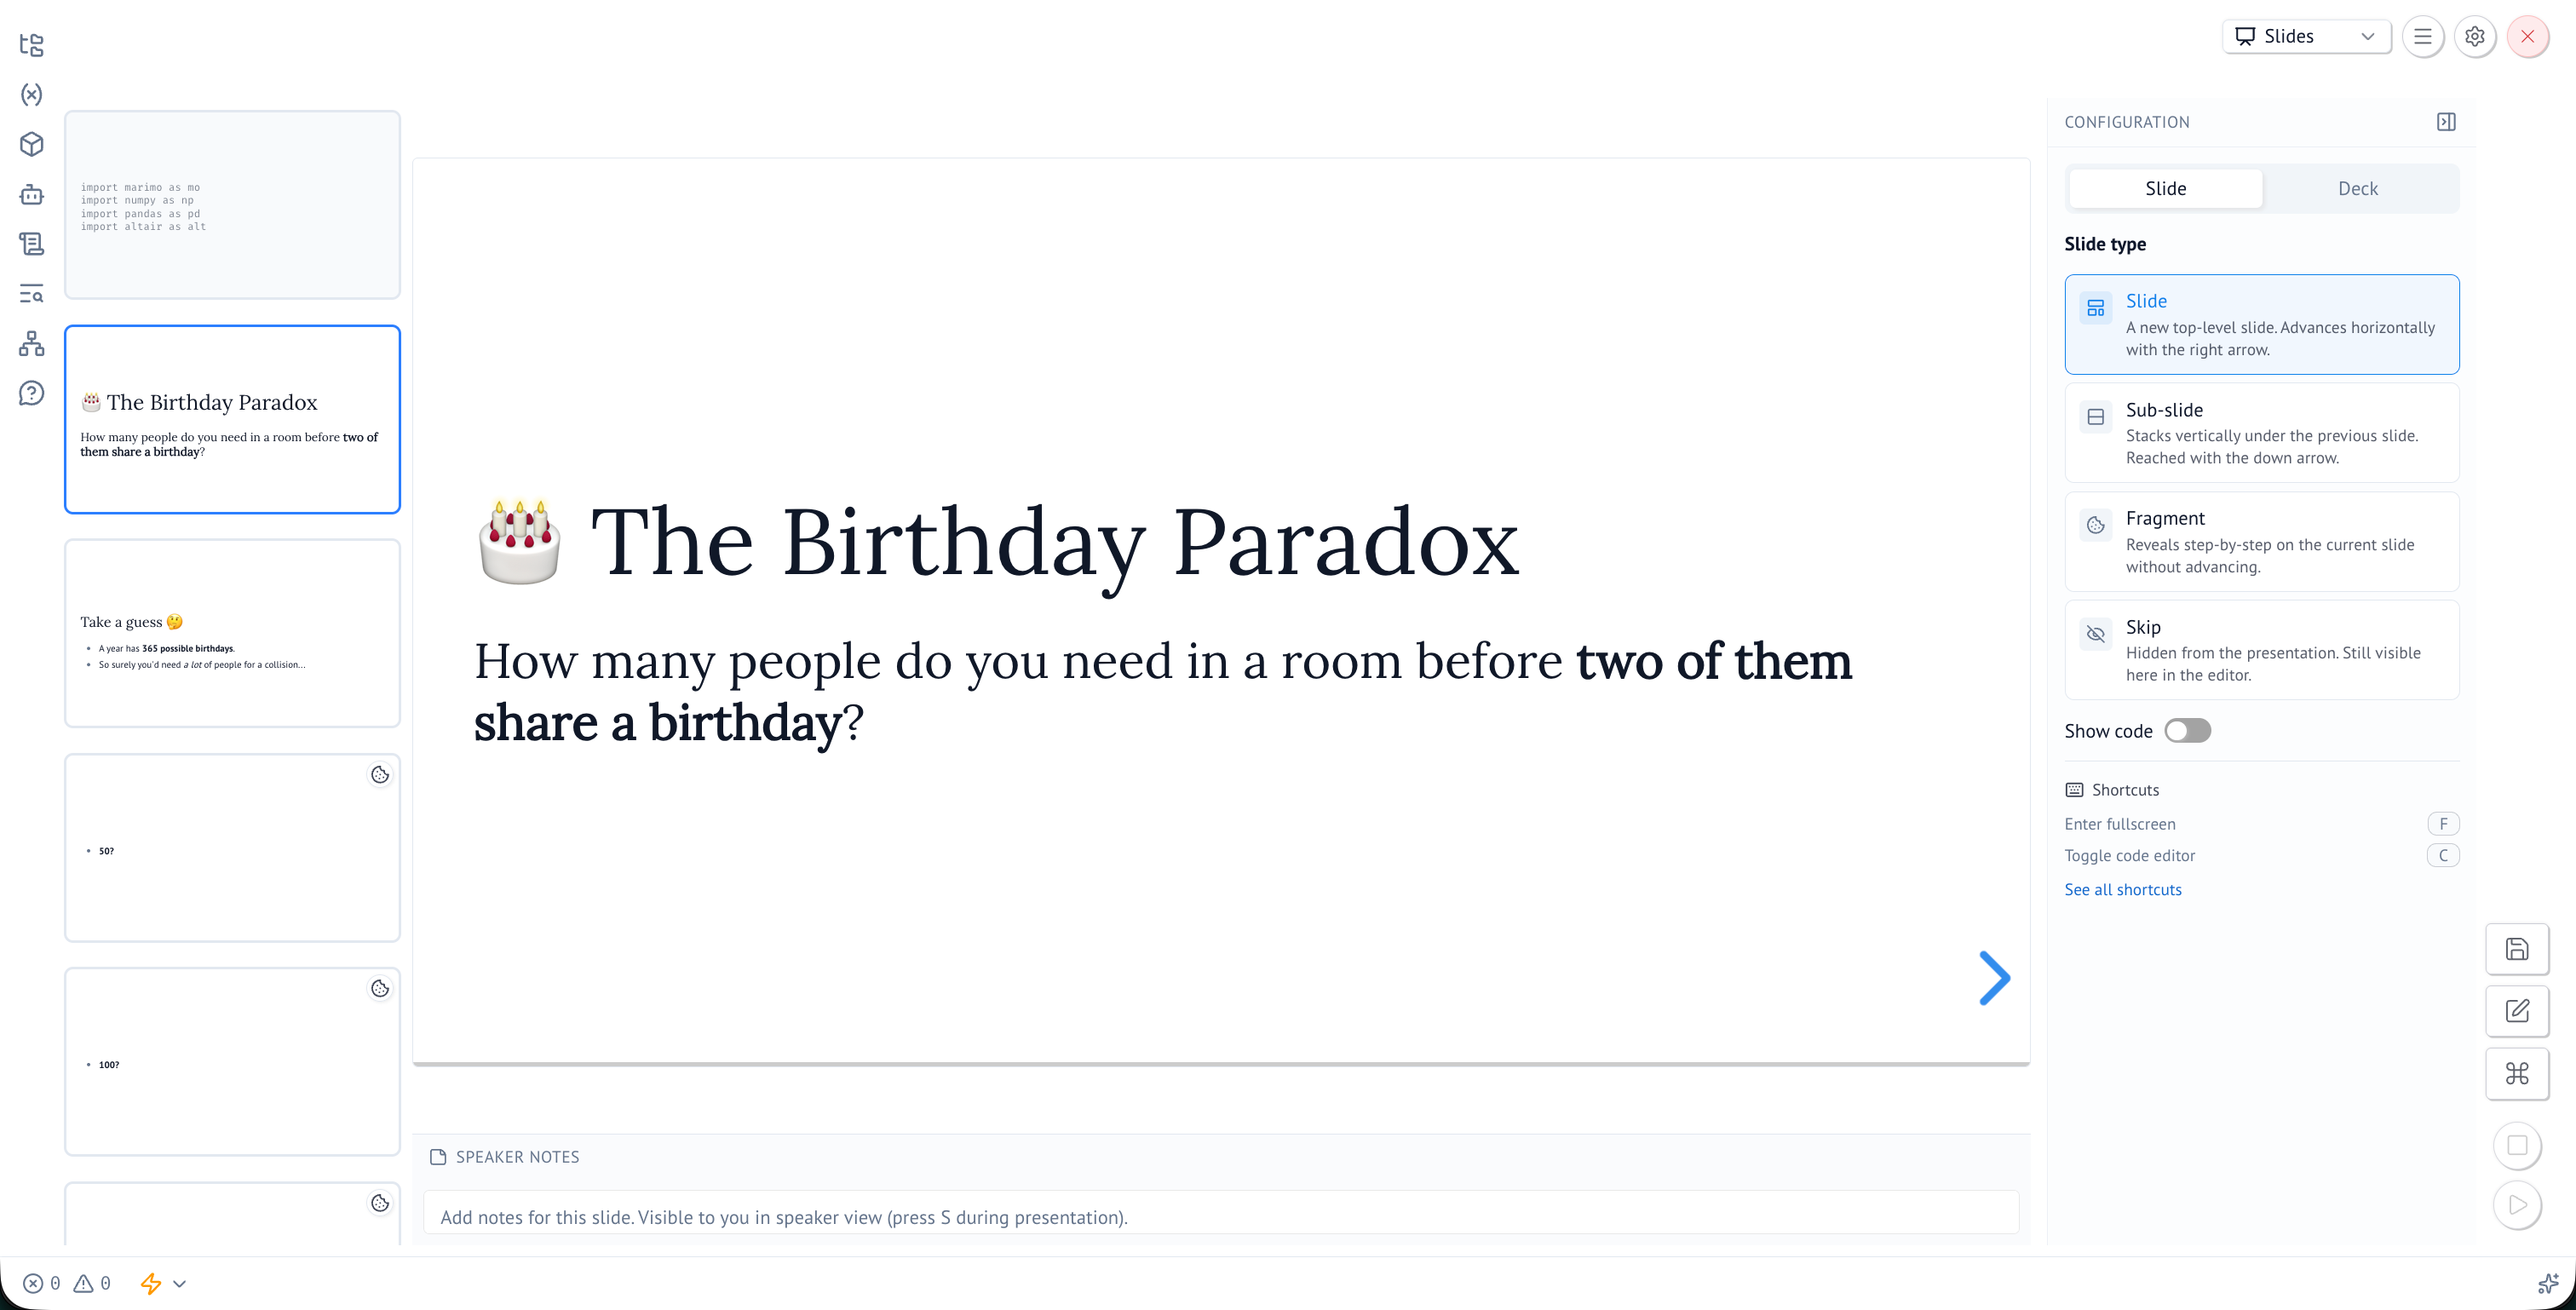
The minimap lists cells in your presentation. Only cells with outputs appear as slides. You can rearrange, navigate, and add or delete slides from there.
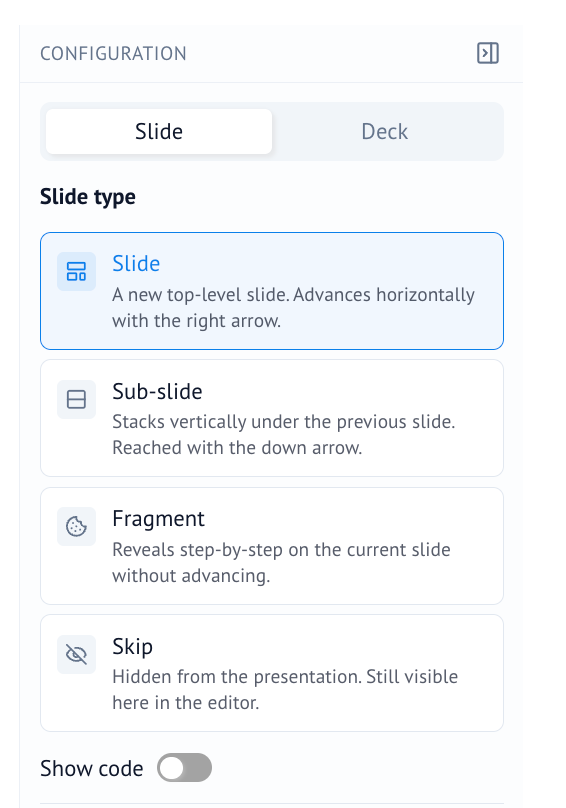
The configuration panel on the right controls how each slide behaves — full transition, fragments (step-by-step), or vertical sub-slides. Switch to the Deck tab for presentation-wide settings like transition effects.
#Speaker notes
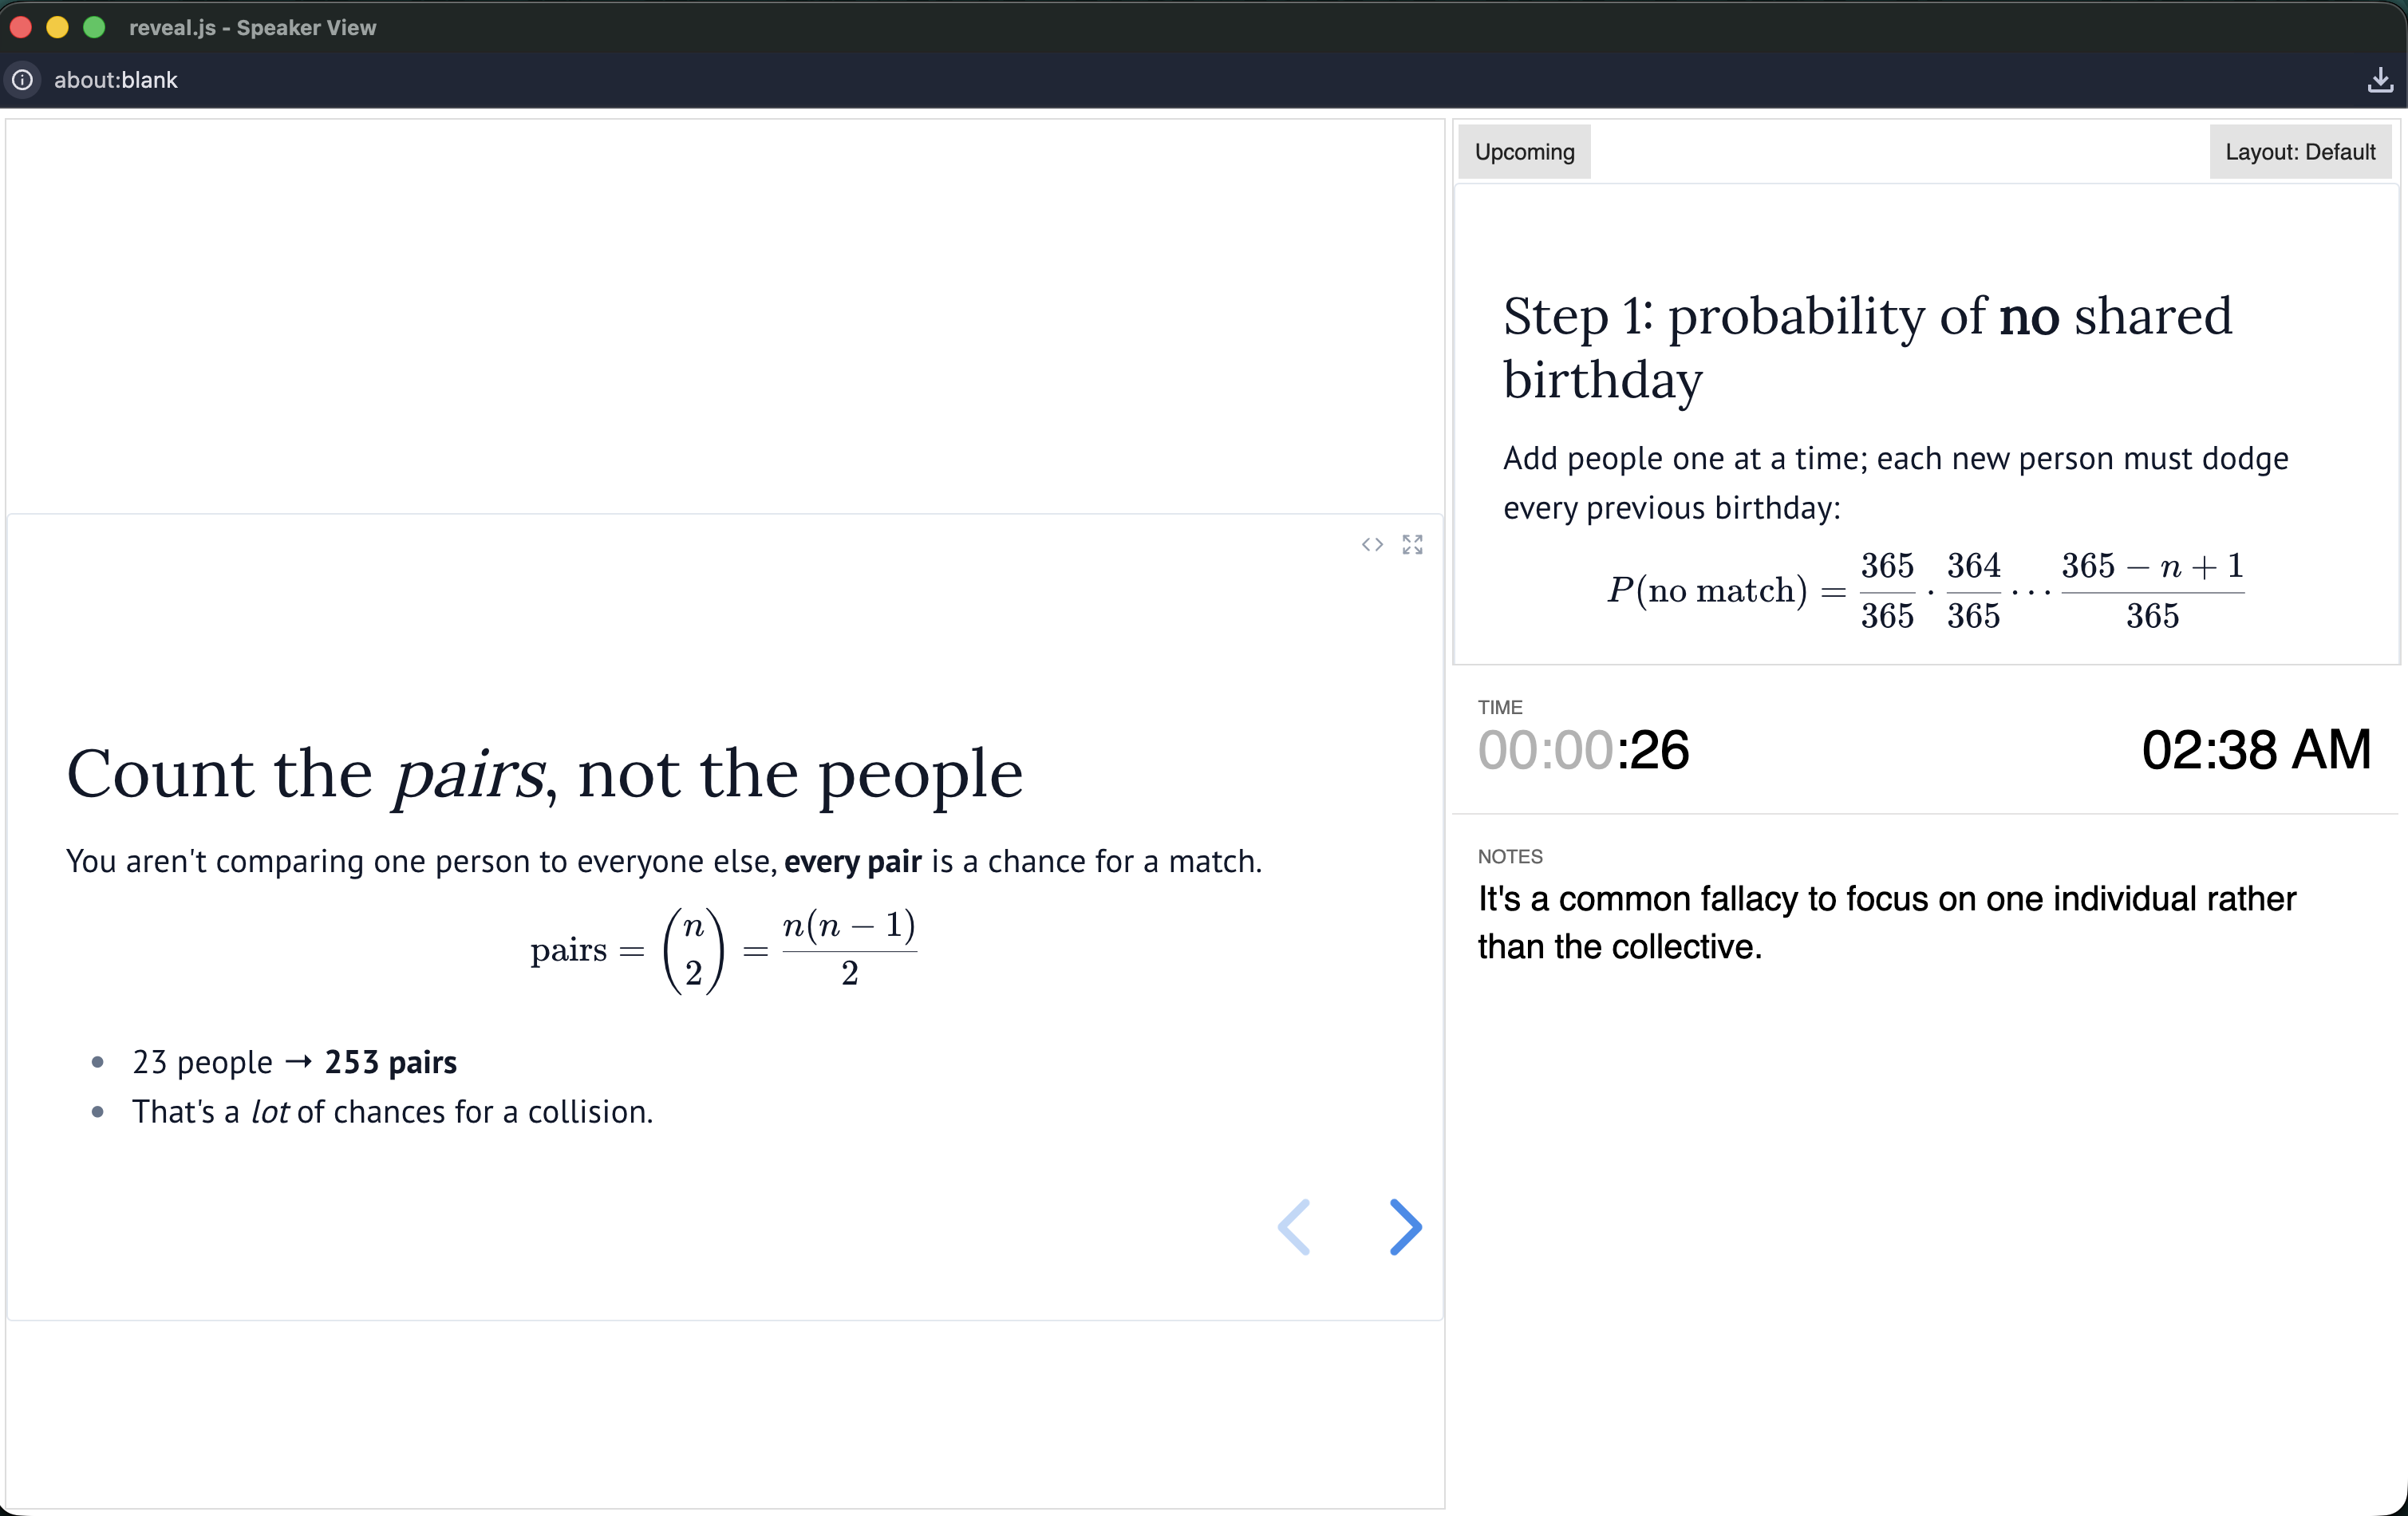
Add notes at the bottom of a slide and open speaker view with S.
This opens a new window you can put on a second monitor while you present.
#Customizing with CSS
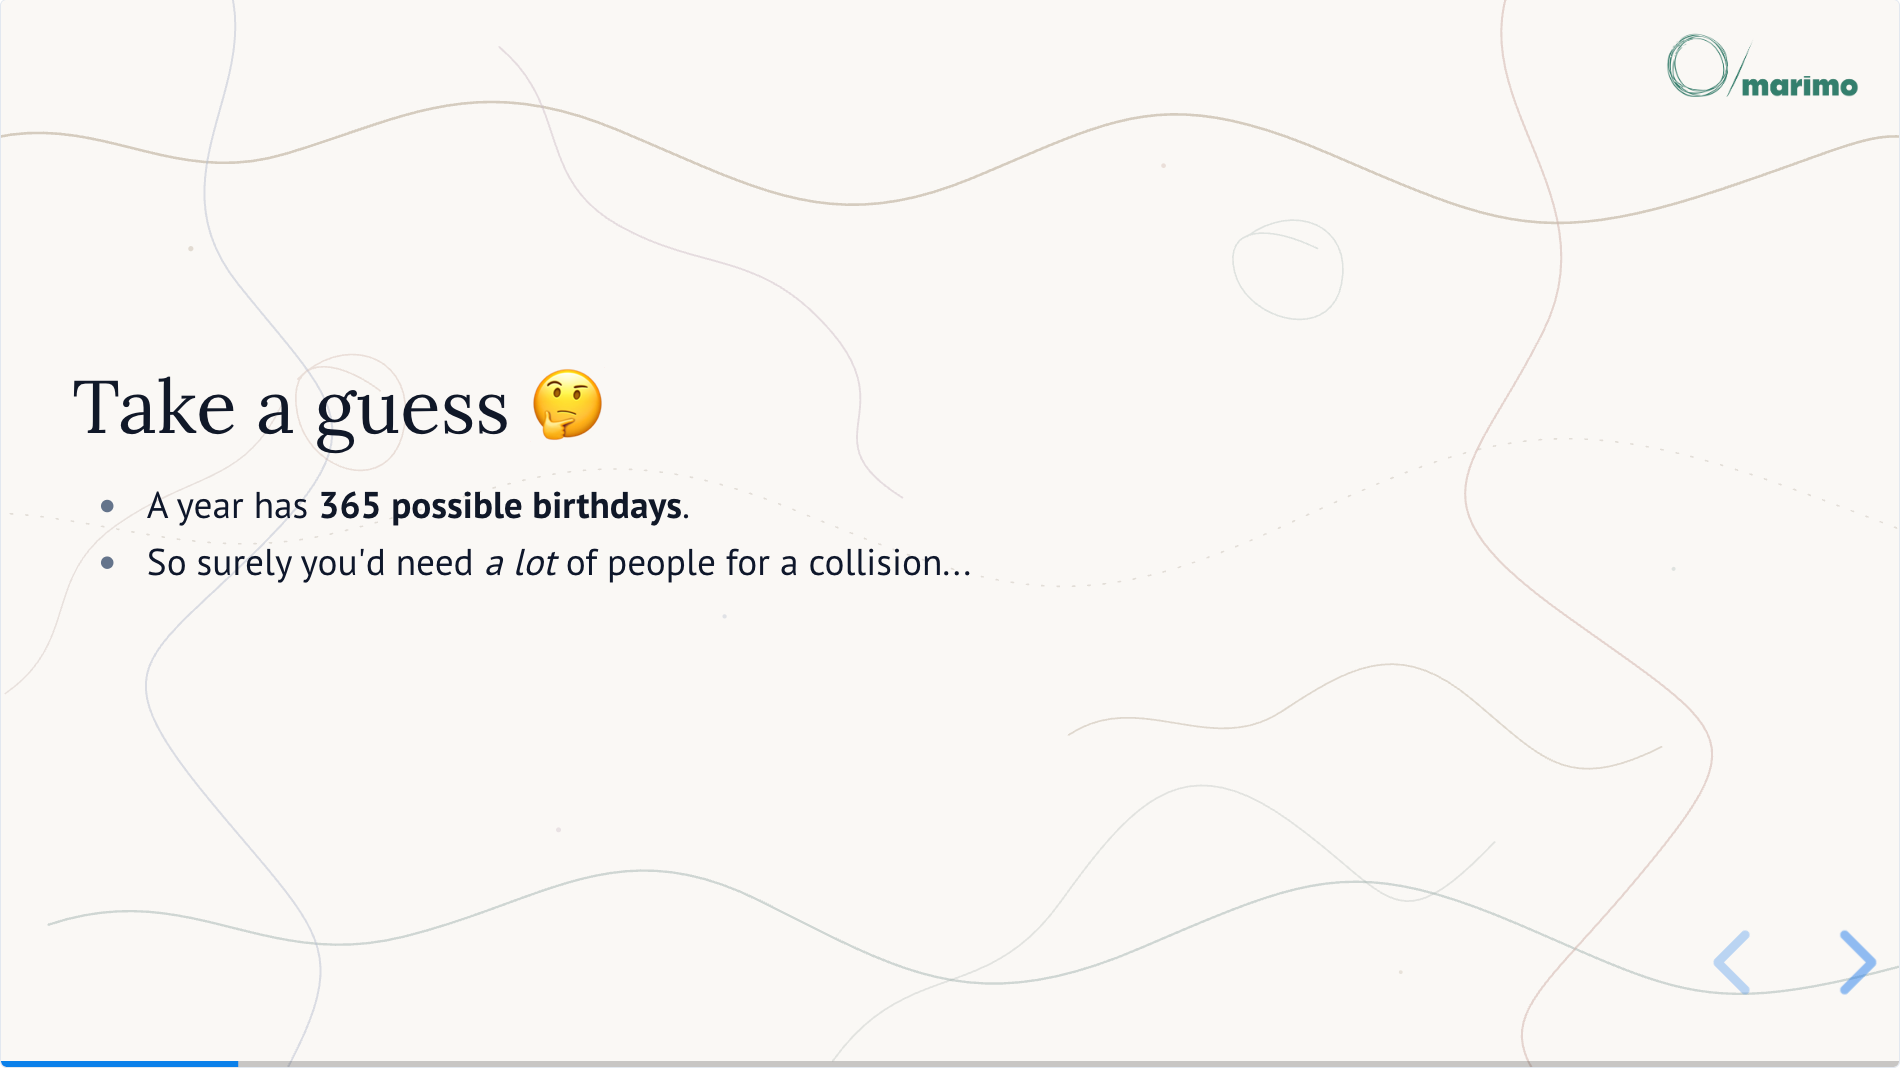
The most flexible way to brand a deck is with custom CSS on the notebook. Target .reveal-viewport for deck-wide styles (background, logo),
and use slide position or a named cell for per-slide overrides.
Here’s a minimal starting point:
.reveal-viewport {
    background-color: #faf8f4;
}

/* Logo pinned to the top-right of every slide */
.reveal-viewport::after {
    content: "";
    position: absolute;
    top: 1.25rem;
    right: 1.5rem;
    width: 7.5rem;
    height: 2.5rem;
    background-image: url("/logo.png");
    background-repeat: no-repeat;
    background-position: right center;
    background-size: contain;
    z-index: 40;
    pointer-events: none;
}
If you need to target specific slides, there are two ways:
- By position (stable if cell order is fixed):
.reveal .slides > section:first-of-type { ... }
.reveal .slides > section:nth-of-type(3) { ... }- By named cell (best when targeting one cell):
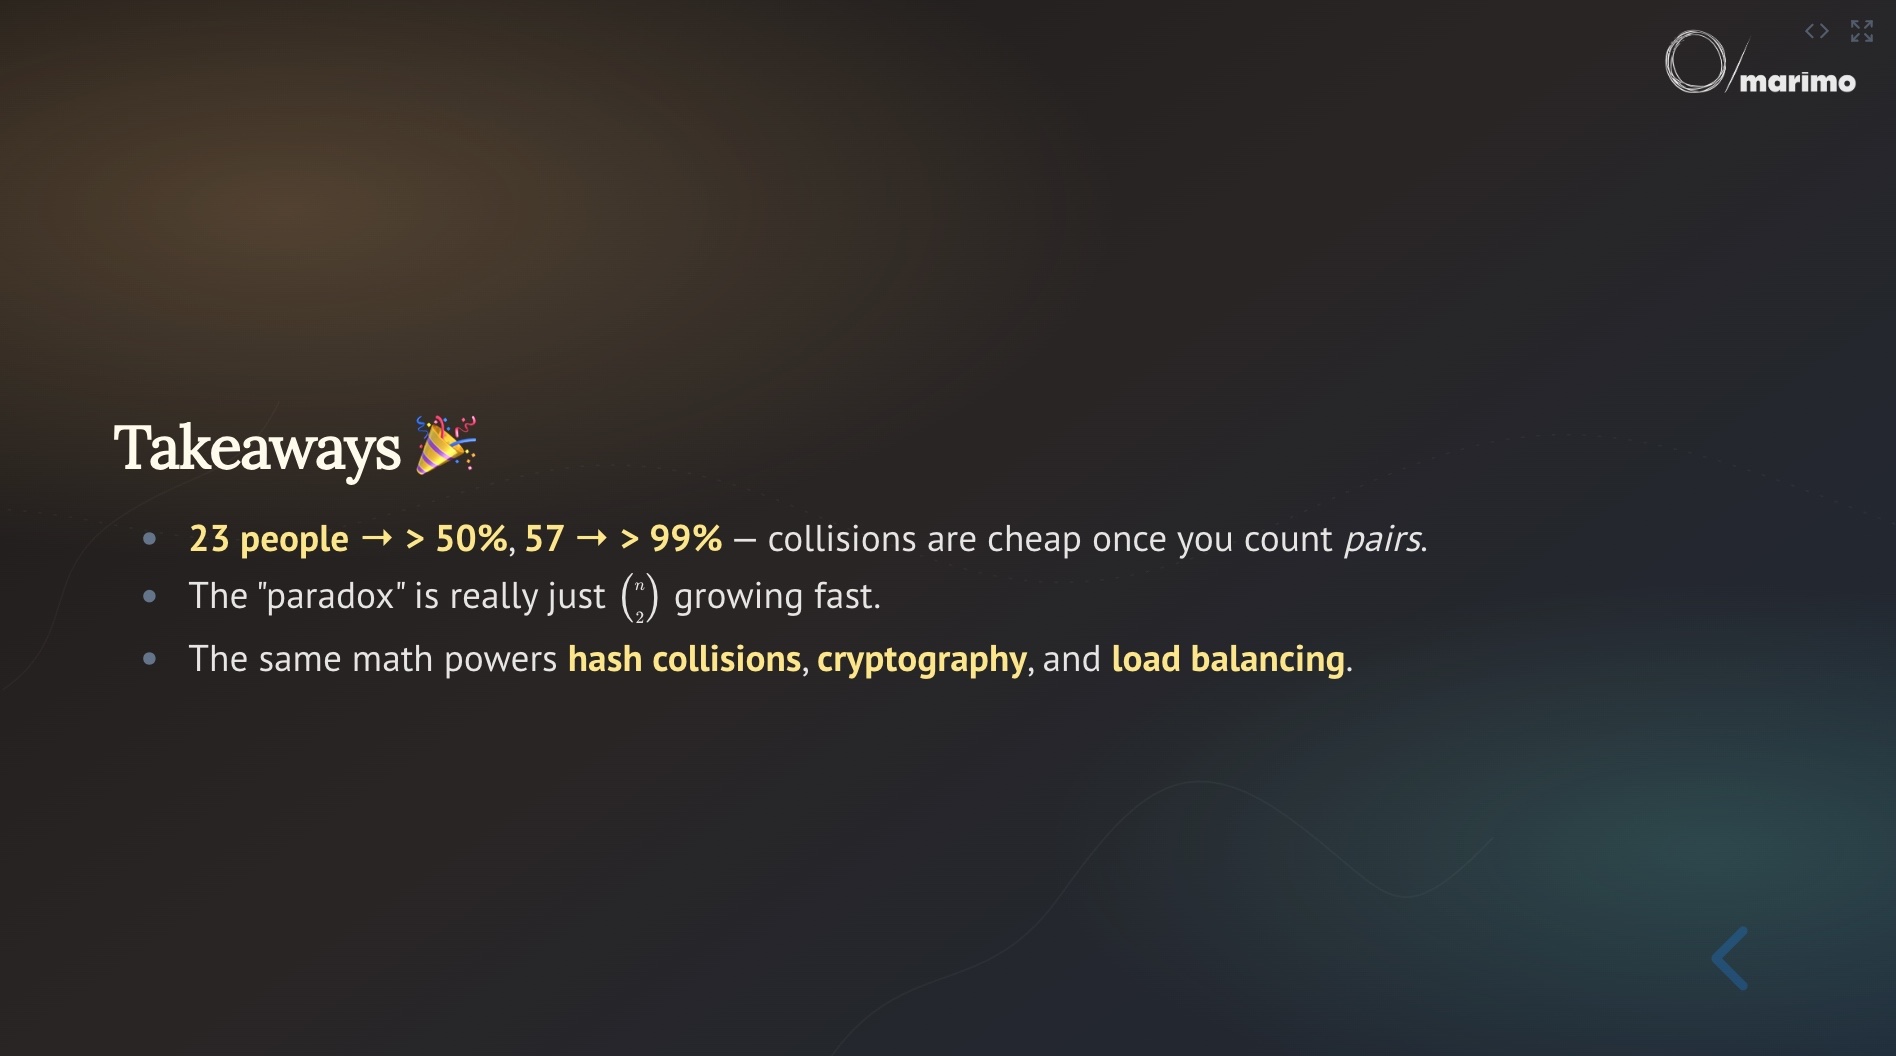
[data-cell-name="title"] { ... }For full-bleed backgrounds on a single slide, style .reveal-viewport with :has(...) rather than only the letterboxed <section>:
.reveal-viewport:has(.slides > section:last-of-type.present) {
    background: linear-gradient(145deg, #1c1917 0%, #292524 45%, #1f2937 100%);
}

.reveal .slides > section:last-of-type .mo-slide-content,
[data-cell-name="takeaways"] [data-cell-role="output"] {
    color: #fafaf9;
}
For more inspiration, see Amazon Rainforest and Learning Git and GitHub, two slide decks with custom themes. This is an area we expect to keep improving. If you build a theme worth sharing, we’d love to see it!
#Sharing presentations
Presentations are just notebooks in slides layout. You can:
- Share from molab via Share > Copy App URL (configure slides in the app preview first)
- Host yourself with
marimo run notebook.py - Export to PDF with
marimo export pdf notebook.py --as=slides
Include the notebook’s layouts/ folder when you share or deploy so others get the same slide metadata.
#Under the hood
Our first slides experience used Swiper.js, a powerful library for sliders. While great, it did not fit our needs for interactive authoring. In particular, we wanted to edit the code while presenting and change the layout on the fly.
We looked at several options like Spectacle, Slidev, impress.js, and remdx, and settled on reveal.js.
| Library | React? | Fragments | Sub-slides | Speaker notes | PDF export | Active? |
|---|---|---|---|---|---|---|
| reveal.js | Via @revealjs/react wrapper | Yes | Yes (Stack) | Yes | Yes (?print-pdf) | Yes, v6.0 (2025) |
| Spectacle | Yes, built in React | Yes (Appear) | No | Yes | Yes | Yes, v10.2 (2025) |
| Slidev | No, Vue-based | Yes | No | Yes | Yes | Yes |
| impress.js | No, vanilla JS | No | No | Yes | No | Minimal maintenance |
| remdx | Yes, React + MDX | Limited | No | No | No | Early stage |
It had the feature set we needed (fragments, stacks, speaker notes, PDF export), stays actively maintained, and powers the RISE extension for Jupyter notebooks, which was a source of inspiration for our design.
That left two product decisions to nail down.
#Where to store presentation config
marimo notebooks are loved because they are pure Python. Stuffing slide metadata into the .py file would bloat diffs and make notebooks harder to read,
so we store metadata in a JSON file under layouts/.
{
  "type": "slides",
  "data": {
    "cells": [
      { "type": "fragment" },
      {},
      {
        "speakerNotes": "It's a common fallacy to focus on one individual rather than the collective."
      },
      {},
      { "type": "fragment" },
      {},
      { "type": "sub-slide" }
    ],
    "deck": {}
  }
}
Metadata is ordered alongside cells rather than hard-linked by id; when the notebook and layout drift, we merge as best we can.
#Authoring UX
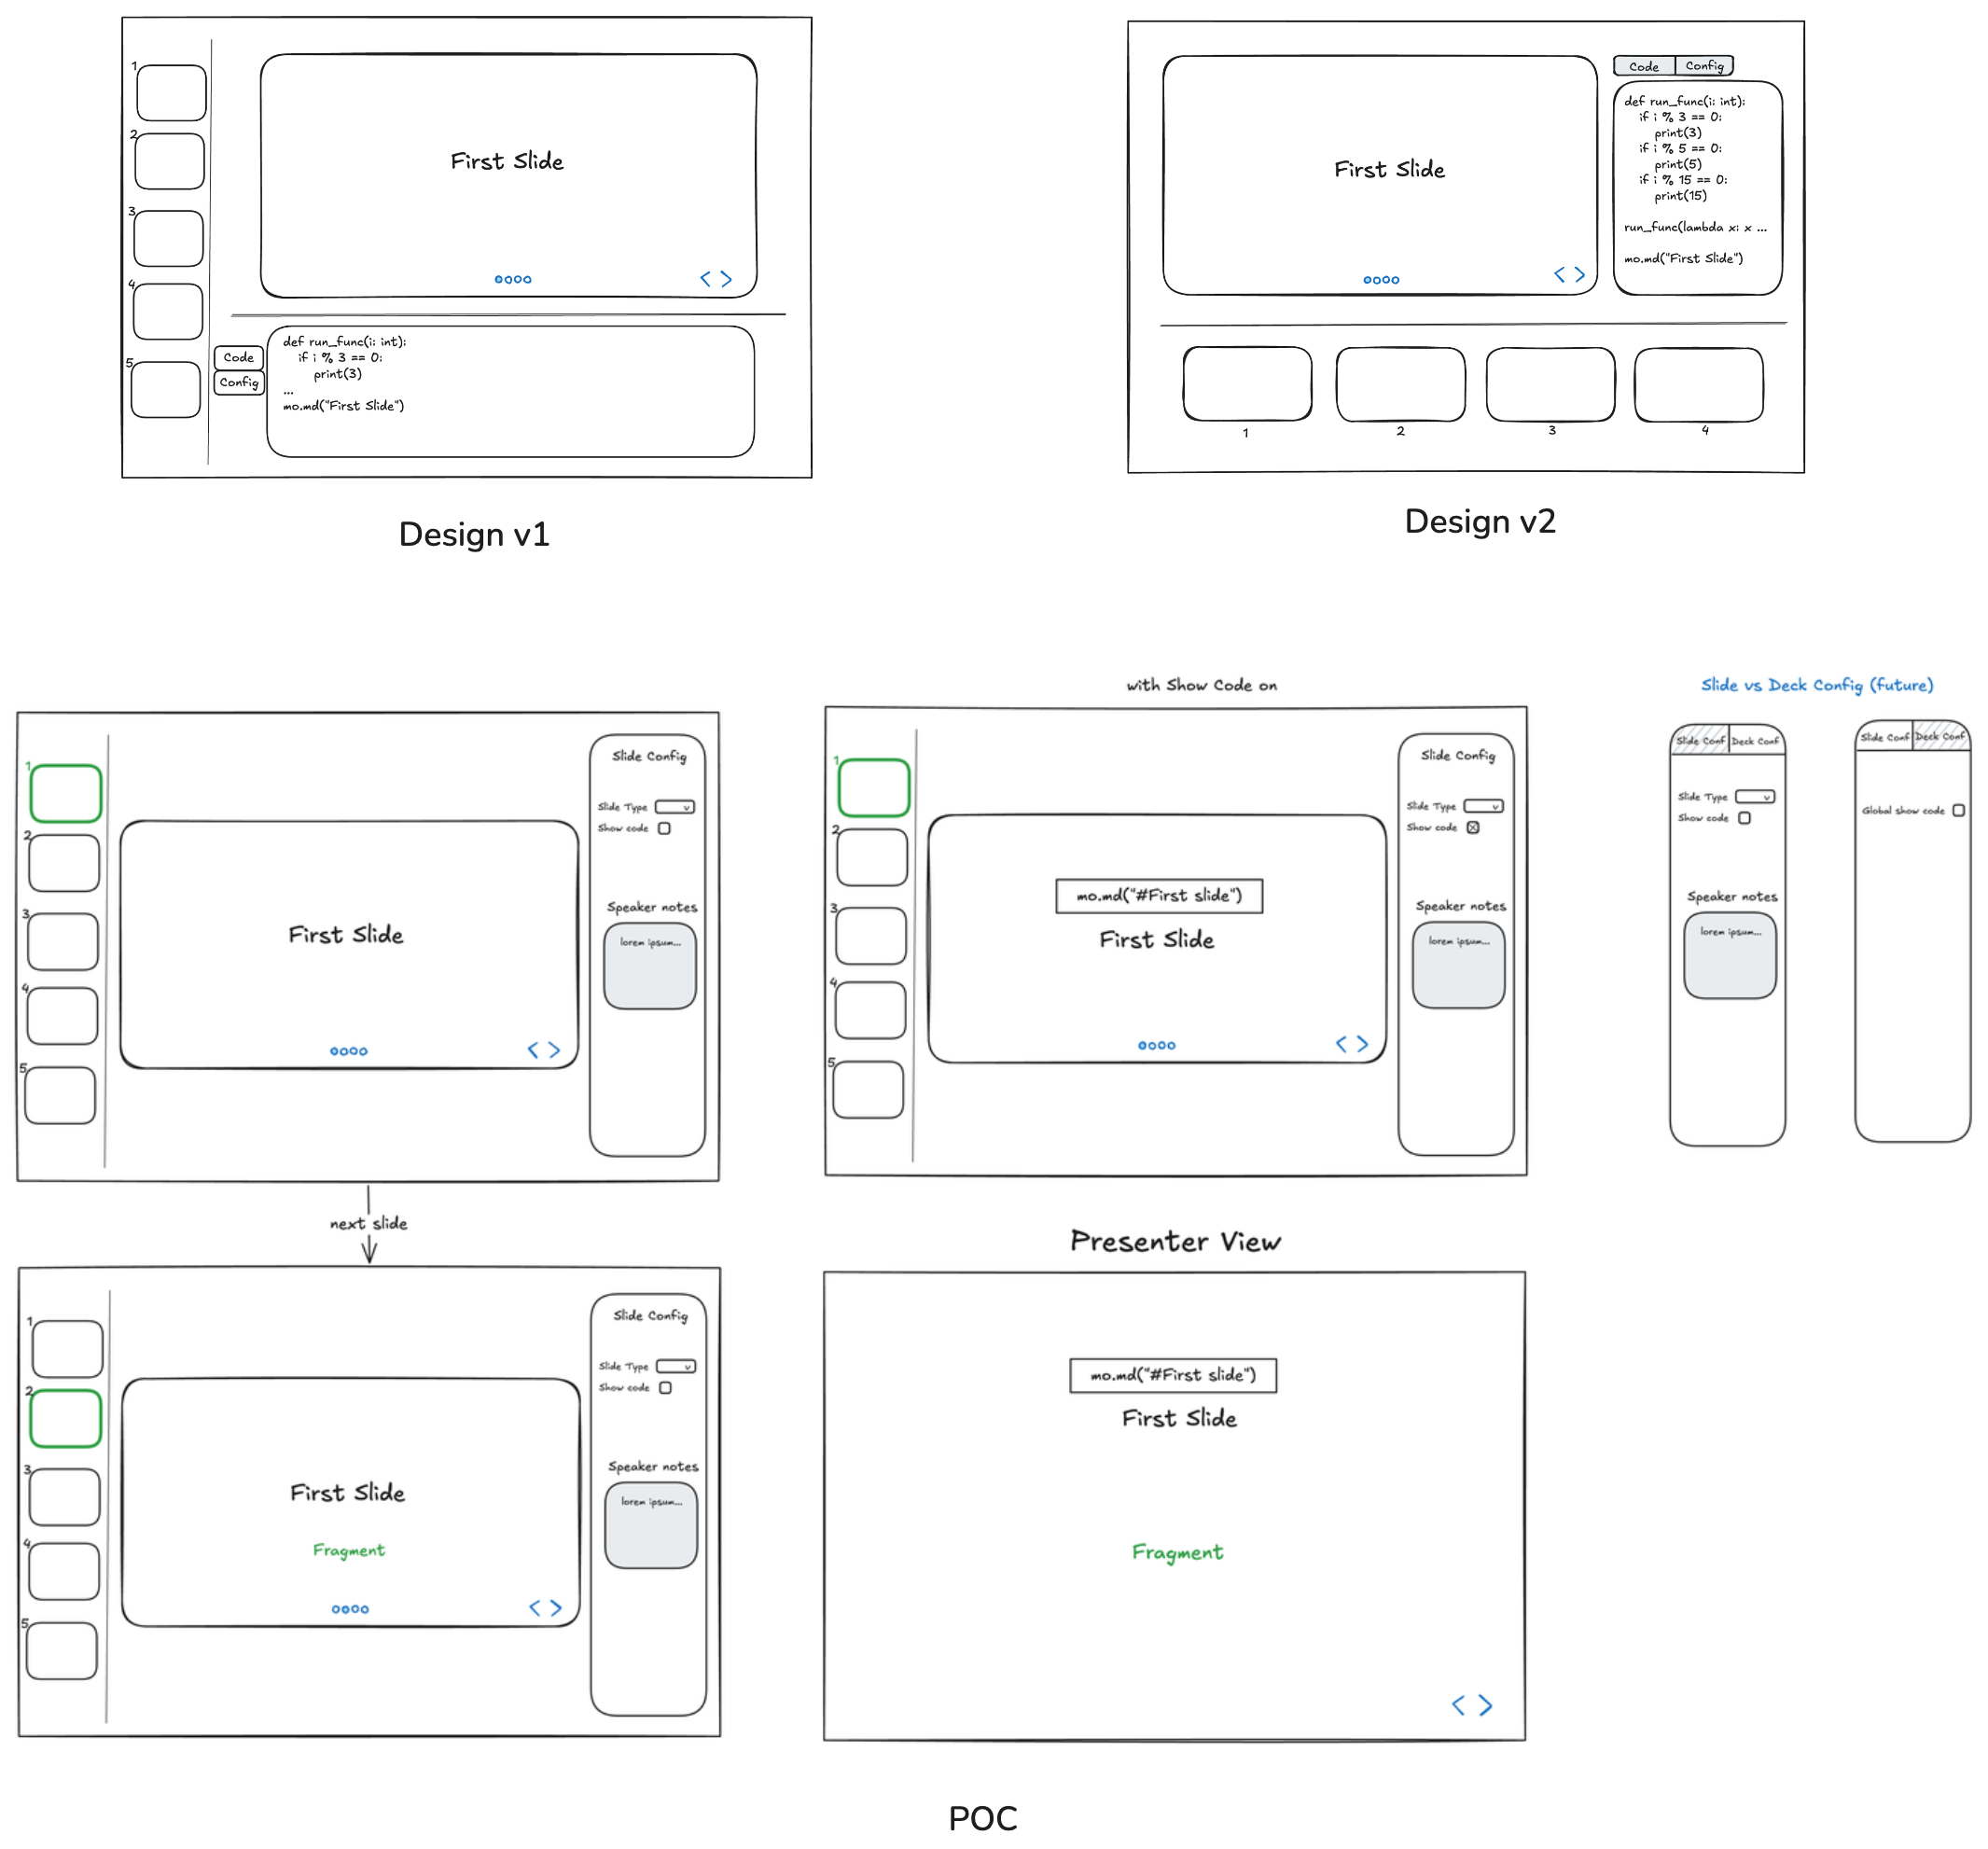
We workshopped a few presentation UIs and settled on something closer to Google Slides: a minimap, a central canvas, and a config sidebar.
We tried putting the code editor beside the slide, but a narrow side panel was awkward for fragments. Editing on the canvas (toggled with C) kept the slide and its steps in view.
#Try it out
Open a notebook on molab, open the command palette, and type Slides. If something’s missing for your talks, tell us.